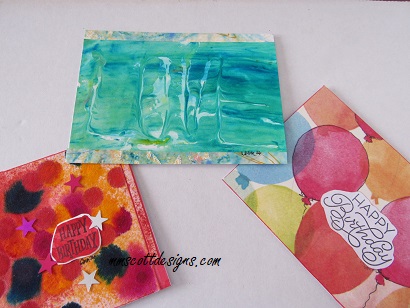
I am finished making the handmade birthday cards for March. I have lots of celebrations to prepare for so I try to get an early start.
Some of the techniques are easier than others and take longer to dry. I prefer to let my projects air dry rather than using a heat tool to speed the process. It helps to have more than one project in the works. I can work on a second project while the first one is drying. I have listed the cards in order from most time needed to the least time.
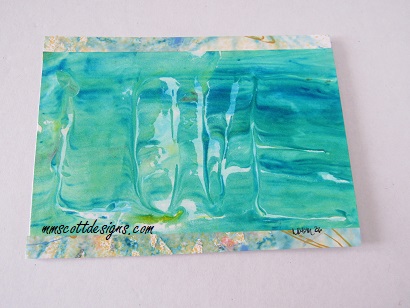
If you have seen my previous posts, you’ll recognize the painted border paper on this card. It’s the left over cutting from the mixed media cards I posted in December.
The green image is a shaving cream print so it took much longer to be ready. Shaving cream is useful for experimenting with different patterns. Additionally, the paper holds the shaving cream scent. The drawer with the prints waiting to be used has a wonderful scent. However, you might not want to do this if you have sensitivity to perfumed scents.
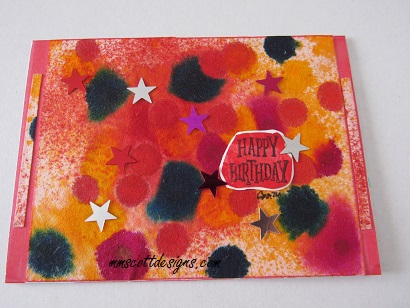
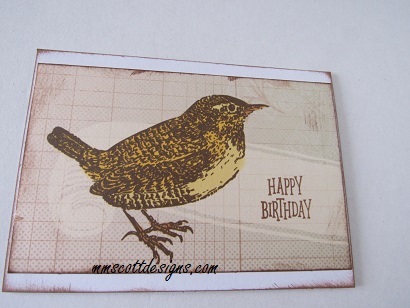
I dropped inks onto the textured side of rice paper for this birthday card. The result is a fuzzy pompom appearance, as the ink bled on the fuzzy paper. I forgot to photograph the opposite side of the inked paper. It is muted and the ink spray does not show up as strong as on this side. I prefer a bolder look because red is the recipient’s favorite color. And stars are the favorite shape.I used wrapping paper for the background on the card on the right. Outlining some of images brings them forward from the background. The outline does not have to be precise; squiggly lines work well too. Floral patterns are also suitable for this style card. I neglected photographing the card by itself before I mailed it.A little birdie told me it’s your birthday. The bird image is leftover scrapbook paper. I added the verbiage with the same rubber stamp used on the inked card.
I hope these samples provide you with ideas to apply to your own handmade birthday card projects.
Let me know how you are doing and if you have questions.