I finished my wooden Christmas ornaments in time to distribute before Christmas. Last year I started a different set of wooden ornaments and time got away from me before I could complete them. Too many projects going on at the same time. Have you had that same problem? It is also helpful that I chose a simpler ornament this year.
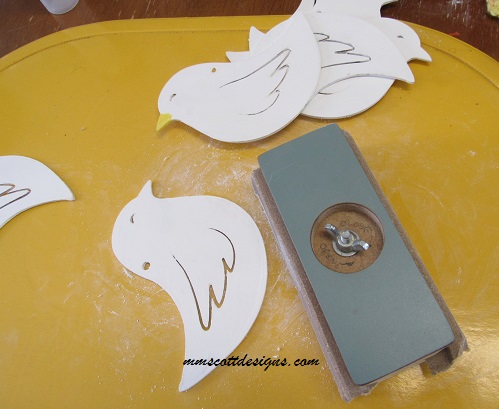
My son made me this sanding block many years ago when he was in middle school wood shop class. Can you believe it has survived all this time? At the time I taught tole painting classes so this little tool has put up with a lot of use over the years.

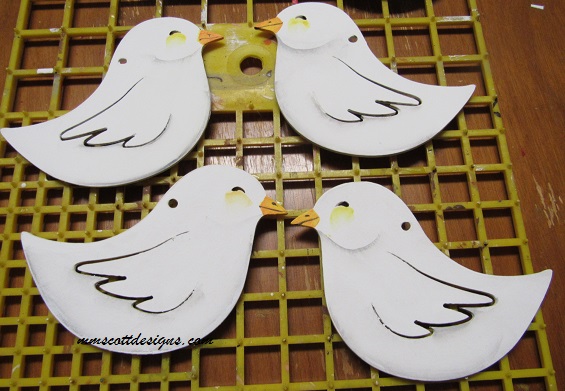
Shading and highlights give the ornaments dimension. If you prefer to have a more consistent shading pattern you can draw a light pencil line to guide your brushwork. I like to have them all slightly different. It adds to their personality. The shading under the beak defines the head. There is slight shading on the beak itself and a little bit of rosy cheek finishes the face.

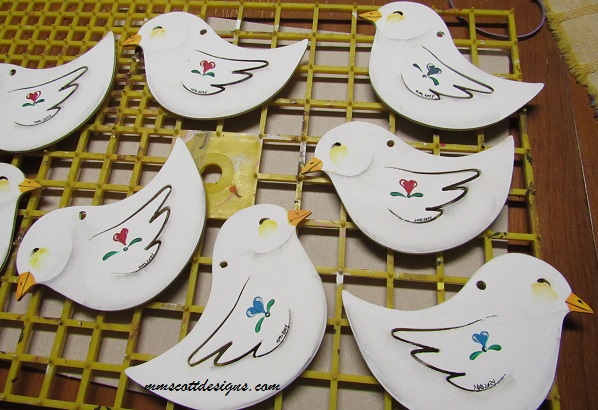
Originally, I was going to leave the birds as shown above with shading alone. Instead I decided to add the simple heart patterns for extra color.

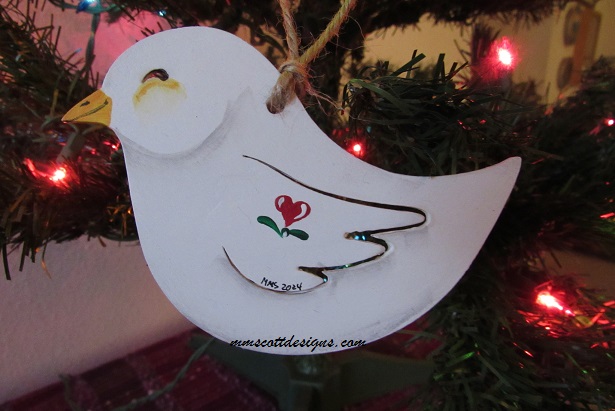
Rather than an ornament hook, I am using jute for the hanger. Ribbon also works well.

Wooden ornaments can be painted to fit your decorating style. These have an Americana, country type style. Additional ideas include a more detailed natural type of painting, wood burned designs, bright colors rather than white. You can also leave the wooden shapes as they are, showing the natural wood finish.
If you do not have wooden ornament shapes you can cut them by recycling items you have such as paper plates, cereal boxes, packing boxes, etc.
Explore and have fun. Leave a comment to let me know how your project turned out.
