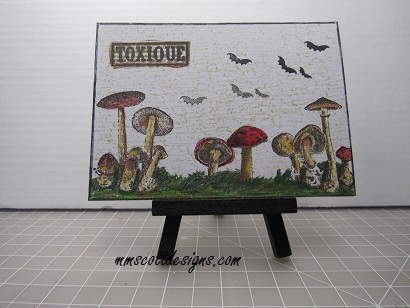
Do you need an easy idea for your handmade Halloween cards? This one uses rubber stamps, a quick and easy technique especially if you have multiple cards to make. As with the other card techniques on my blog, you can apply the process to the events that you celebrate.
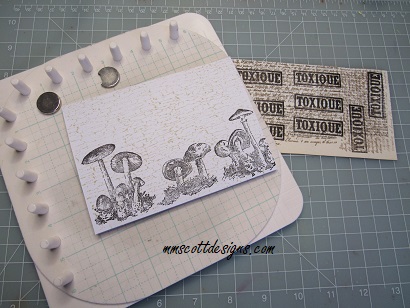
I like to use a stamp press because it is easy to realign the image if the first impression is lighter than I intended it to be. If you do not have a stamp press or if you are using wood block rubber stamps, a T-square will work to help you realign the image if needed.
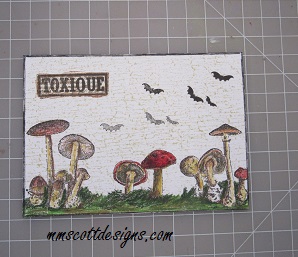
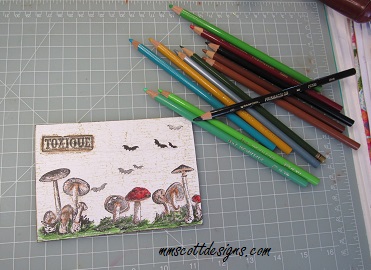
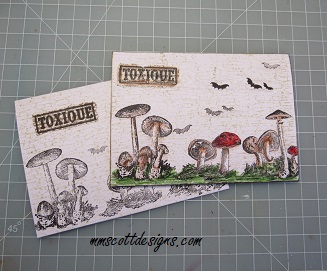
This card is a landscape layout with the main images along the bottom edge. I stamped the verbiage multiple times on an old book page.Color pencils are an easy, quick and no-mess way to add color to your stamped images. I tend to lean more towards watercolors, but this time I wanted a more mobile type project. This is a great technique if you find yourself with extra time in waiting rooms or even waiting in the car. You can stamp your images ahead of time and color as you go. It is also a good project to do while watching television if that is something you do.I used the pencils to fill in the gaps between the stamped images. Here you can see where I extended the grass and added more ground cover to both unify the mushrooms and to avoid the image of ‘floating’ mushrooms. The bats are from another rubber stamp. I used color pencils to shade around the edges of the verbiage cutout. The completed card is ready for snail mail and candy time. If you do not have color pencils, crayons will also work.
This is easily adapted if you do not send handmade Halloween cards by changing the border image. Perhaps a row of cakes or candles for a birthday. Wreaths or pine trees for Christmas would be a fun border. Also simple ‘Thankfulness’ verbiage for Thanksgiving or for a thank you card.
Drop a comment and let me know if there is a specific theme you are interested in seeing.
Have fun creating for yourself, for others. We all need a little whimsy from time to time.